Poster Design

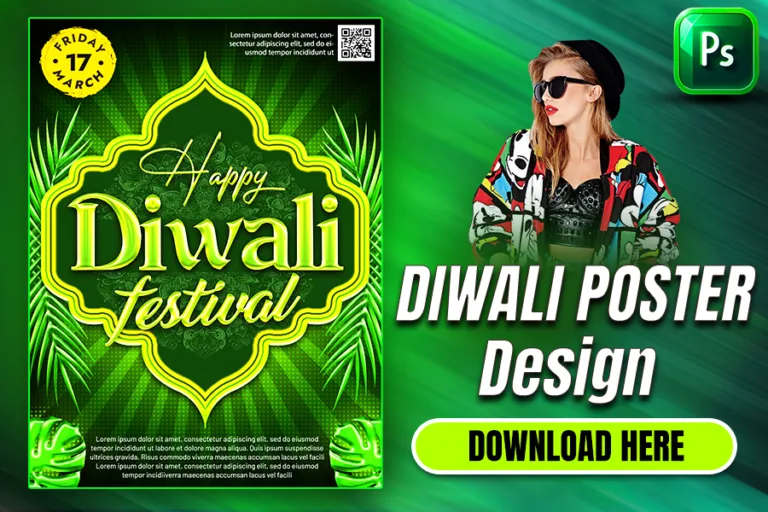
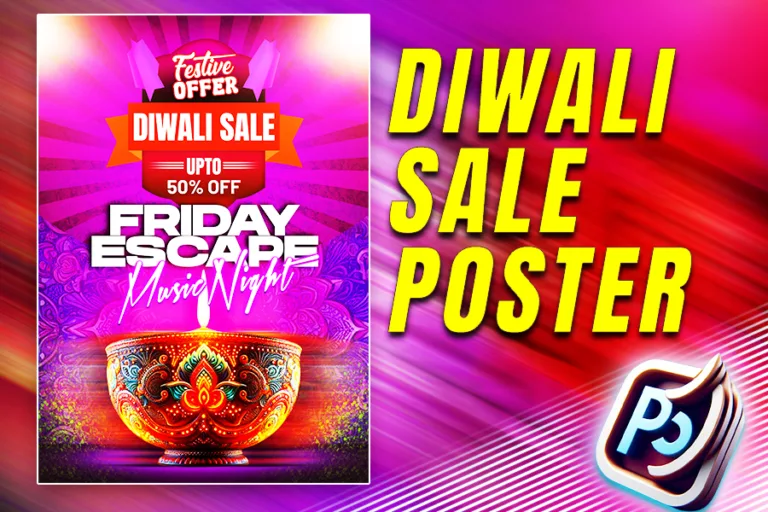
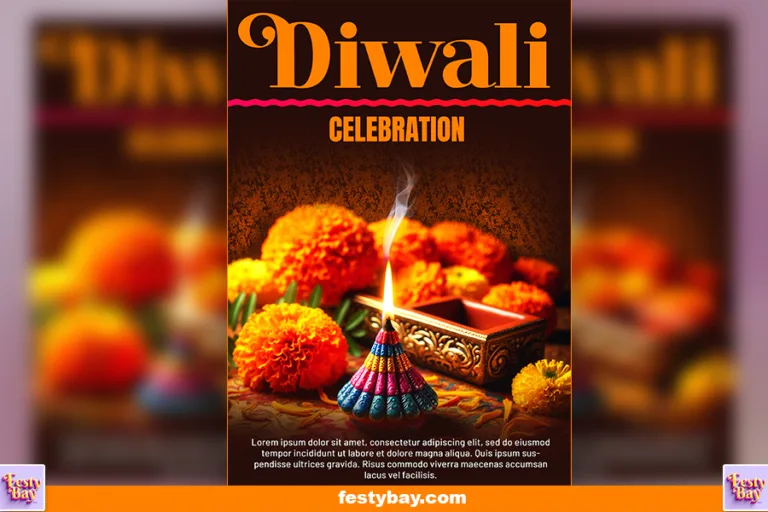
In this tutorial, you will learn how to design a Diwali-kali Puja Poster in Photoshop. We will go through every step in a very simple and easy method. We split this into steps, let’s get started.
Step 1: Clear the concept and basics first
To create an eye-catching design like the Kali puja Poster, you have to first clear the design concept in a traditional, modern, or semi-urban. It totally depends on how you approach or on client demand. So, we will choose the traditional way, we will add some diyas (Lamps), Fireworks, Some warm greetings, and a vibrant background with some pattern designs, and move to the next step.
Step 2: Set up your document in Photoshop
We created this Kali Puja template in Photoshop Cs6, you can use whatever version you have. First, open Photoshop > then File > New > select the page size to A4 > set the Resolution to 300 DPI for better high-quality Print > set the color mode to RGB or CMYK, (Depends on your purpose of use).
Step 3: Create the background in
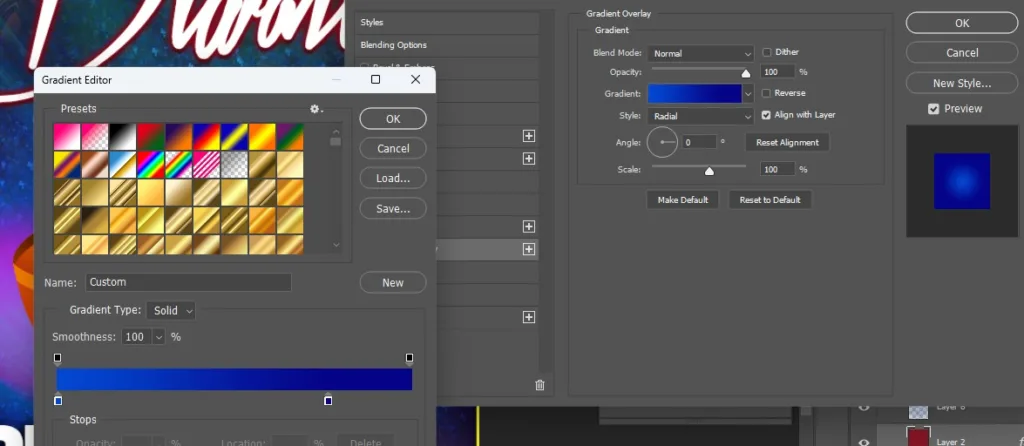
For this Diwali-Kali Puja Poster, we will choose a dark blue and light blue gradient background with “Radial” which will match the festive vibe. You can use this color code (0347d1, & 050387). You can adjust the gradient color as per your choice, move to the next step.
Step 4: Add festive elements
After creating the background, we import the Diwali elements, like Diyas, fireworks, and Lamps for a more eye-catching vibe. For this PSD template, we generate these images using Microsoft Designer.
You can add some Goddess Kali images also, but we are using them for this time, you can add a silhouette. Move to the next step.
Step 5: Add some text and a Heading
After doing all the steps now time to add some demo texts, and Heading. We will add Diwali as the main Heading and will place the heading in the Top section, for better visuals we use some bold font, like Xtreem Fat PERSONAL, which you can choose as per your choice. After heading now time for some sub-headings like date, and slogans. If you are making this design for any company or for product purposes you can add some other demo texts also.
Step 6: Adjust the color and brightness
After adding the all text and making your designs and elements pop, select the layers and name the layers, select all layers, and group the layers > click on Create new adjustment layer > Brightness/ Contrast > change the properties to pop up your design.
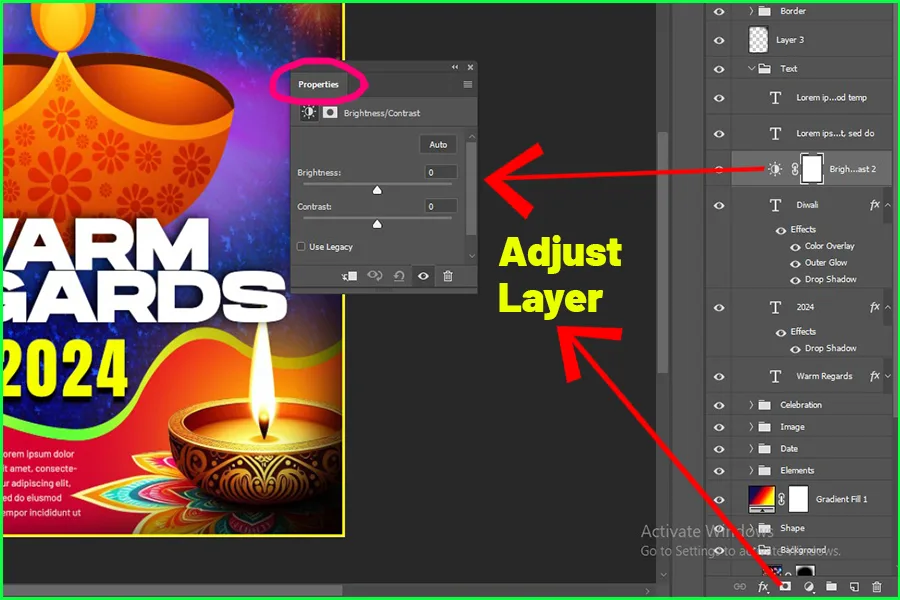
Step 7: Final Touches
Ensure that all the layers are aligned properly by using the Align Tool and make sure your poster has a good balance between text and images. You can name the different layers with according layers. Save your design Export the image from Photoshop, and use it for your events or clients. Thank you.
File Info
| Software Compatibility | Adobe Photoshop |
| Printable | Yes |
| Fonts Used | Font_1: Xtreem Fat PERSONAL Font_2: Hanson Font_3 : Anton Font_4 : Highsummit |
| File Format | PSD (Photoshop) |
| File size | 62 MB |
| Dimensions | 8.26 X 11.69 Inches |
| Color Mode | RGB |
| Resolution | 300 DPI |
| Download file type | rar file |
| PSD Type | Only Poster design, psd |
| Mockup | No |
| License | Free for personal and commercial use |
Hope you learn from our tutorial, as per guidance we added the design summary, like font names, Software details, and File size. We also add the free PSD file to download. Check the “Free PSD Here” button, and click to download and share with friends and family.
Copyright Disclaimer:: You are welcome to use these templates for personal or business purposes, but giving credit to Festybay is mandatory. Most of the materials are provided for educational purposes and are intended for non-profit use. If you believe that any content violates your copyright, please contact us at contact@festybay.com or reach us on WhatsApp at +91-8637840669. We will take prompt action to remove the content in question.
More PSD Design
More PSD designs
Recent Posts
Table of Contents
Toggle
