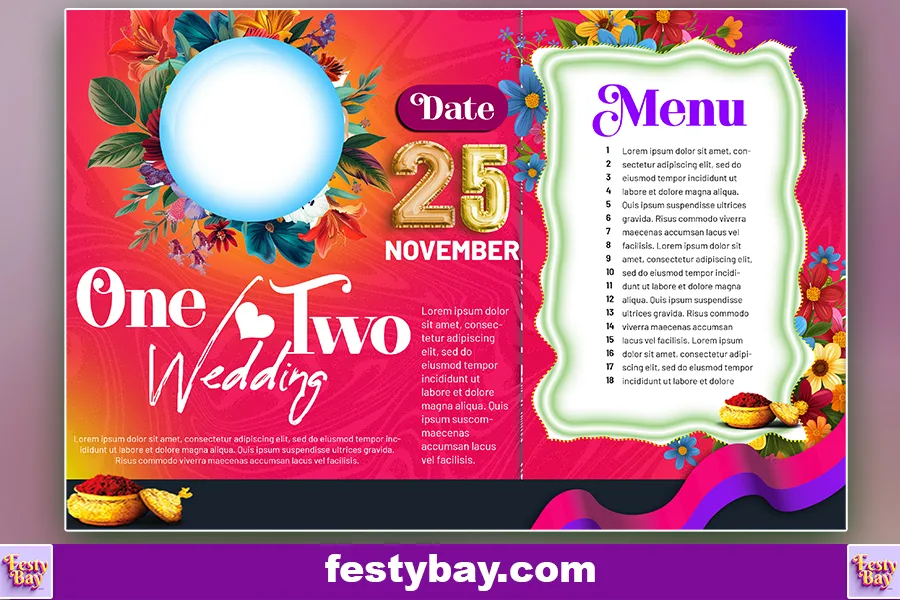
Wedding Menu Card Design

Create an Elegant PSD wedding menu Card design in Photoshop. Print ready Simple 12/8 inches template with CMYK color. This template design can be customized easily with Photoshop. No need to worry about the custom elements that can be editable too. With some simple steps, we are going to learn to design a Table Menu card for a wedding. Let’s get started.
Step 1: Page Setup in Photoshop
Open Photoshop and create a new file with the following dimensions, set width of 12 inches. and height of 8 inches. You can choose the color mode as per your choice if you choose to print then set color mode on CMYK otherwise for digital purposes you can choose RGB. The resolution should be on 300 DPI.
Step 2: Bringing Your Background to Life with Vibrant Custom Colors
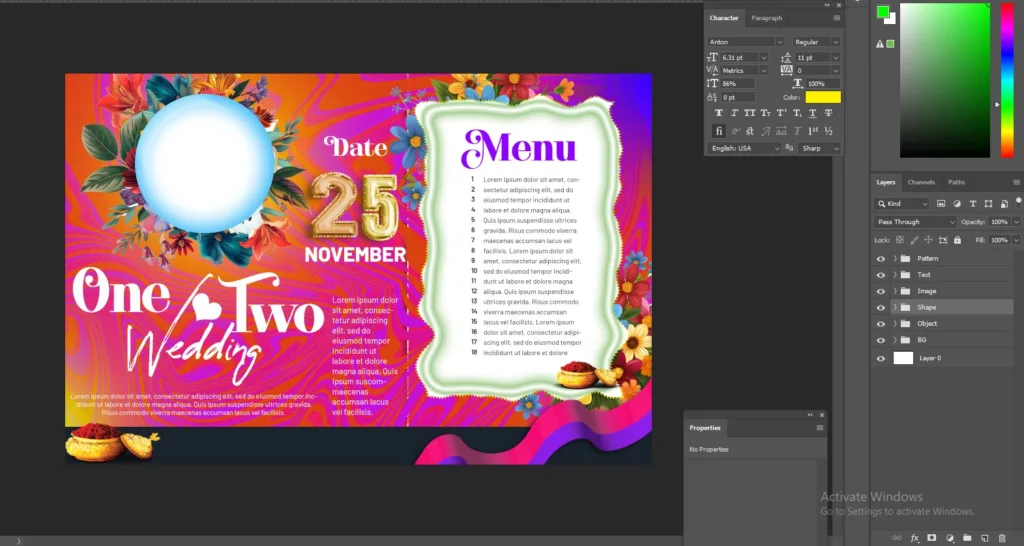
After setting the blank page, it is time to create a custom vibrant background using colors and shapes. In the first stage go to the adjustment layer > select solid color> fill with Magenta(ColorCode- f30e5a). For wedding menu cards Magenta and Red these two colors are more suitable. For some detailing add noise from the filter menu. In the second stage, we will create the custom abstract pattern using the Lequify option. First, take an A4 page and create rectangular shapes using the rectangle marque tool. Yellow pink and red > Make a group > Copy and paste on full page > Go to filter > Distort > Polar coordinates > Again go to filter > liquefy and move the brush tool there as per your wise. By following these steps your custom background is ready.

Step 3: Adding Texts and Shapes
I hope you get an idea of how we create this background using simple colors, and filter options. Now it’s time to add important texts. First, write down the Bride and Groom’s name and place them as your heading and main highlight of this Menu Card design. Don’t forget to add some important text like some greetings to welcome the guests, Date, time, and place. You can add extra information also if needed and the most important part is the food items. After writing down all important texts now time to add some shapes to highlight them. For this step you can choose the shapes of how you place your texts, heading, and dates.

Step 4: Perfecting the Final Details
In this final step, we’ll refine the design with subtle details that make all the difference. From adjusting spacing and alignment to adding delicate finishing elements, these last touches bring polish and elegance to your wedding menu card, ensuring it stands out beautifully. For this, we will choose the adjustment layers, by creating two layers one for Brightness and contrast control and a second one for color balance.

Conclusion and Bonus Gift
And there you have it a beautifully crafted wedding menu card design is created. by following these steps, you have created a design that reflects the style and ambiance of the big day. Now the Bonus you will get the FREE PSD file of this above design. That will definitely help you to create your own wedding menu card. Using this PSD file you are allowed to use this design for personal or business purposes. Click the given link below to download this design“Free PSD Here”.
File Info
| Software Compatibility | Adobe Photoshop |
| Printable | Yes |
| Fonts Used | Font_1: Migoes Font_2: Reey Font_3: Barlow |
| File Format | PSD (Photoshop) |
| File size | 45 MB |
| Dimensions | 1920 x 1080 pixels |
| Color Mode | RGB |
| Resolution | 300 DPI |
| Download file type | rar file |
| PSD Type | Wedding Menu Card design, psd |
| Mockup | No |
| License | Free for personal and commercial use |
Copyright Disclaimer:: You are welcome to use these templates for personal or business purposes, but giving credit to Festybay is mandatory.. Most of the materials are provided for educational purposes and are intended for non-profit use. If you believe that any content violates your copyright, please contact us at contact@festybay.com or reach us on WhatsApp at +91-8637840669. We will take prompt action to remove the content in question.
More PSD Design
More PSD designs
Recent Posts
Table of Contents
Toggle


